Getting Started
Create a workspace, secure your account, connect the financial record, and check your first operations view.
Summary
Eigenn onboarding establishes the workspace, the person who signs in, and the financial connections that power the product. Complete those foundations before you use balances, receivables, or automation as operations signals.
What You Will Set Up
The supported first-run path covers four layers:
- Identity — Sign in through the hosted authentication flow.
- Workspace — Choose the company name, the country, and the base currency.
- Account protection — Enroll an authenticator app and confirm a six-digit code.
- Financial connections — Connect Stripe and at least one bank account. Then wait for the initial bank sync.
Plan selection is also part of the first-run path. The onboarding plan screen offers Starter, Growth, Scale, and Enterprise with monthly billing. Starter is marked as recommended.
Capabilities
Eigenn enables new users to securely create and configure a workspace, sign in with supported identity providers, set up multi-factor authentication, select a paid plan, and connect both Stripe and a bank account. The onboarding supports background provisioning of default folders and collection policies. Users can test and verify their workspace, view financial records, manage notifications, and further configure workspace roles and controls.
Prerequisites
You need an active internet connection and a supported web browser. Have access to a company identity or email, and be ready with authentication devices like a phone for TOTP codes. You will need access to a Stripe account and at least one bank connection for integration. Payment information is necessary to select a plan and activate subscriptions. Organization and company details will be required to fill workspace details.
Concepts
What Is Optional
These tasks improve the workspace, but they are not part of the necessary connection gate:
- invite teammates and assign the correct roles
- upload a workspace logo
- set transaction export defaults
- confirm a custom sending domain
- adjust personal date, time, and appearance preferences
- create more integrations and automations
- create more planning models, dimensions, and shared views
- publish or pin Assistant work that the team must revisit
We recommend that workspace owners complete organization, role, billing, and security-policy setup before they invite a large team.
Workflow
1. Sign In or Create an Account
Open Sign in or Sign up. The same hosted authentication flow handles both new users and users who return.
- Continue with Google is the primary option.
- Select Show other options for Apple, GitHub, or email.
- Email entry supplies the address to the hosted sign-in service. Eigenn does not show a separate local-password form.
- If your company uses SSO, use the identity option that your organization set.
After authentication, Eigenn sends a new user with no workspace to workspace creation. Eigenn sends a user who returns to the requested page or to the active workspace.
2. Create the Workspace
Complete Create your Eigenn workspace:
| Field | Effect |
|---|---|
| Company name | Names the workspace throughout the app |
| Organization name | Optional identity-organization name; defaults to the company name |
| Country | Stores the workspace country |
| Base currency | Sets the reporting currency that the workspace uses |
The company name must contain at least two characters. An organization name must be unique when identity-organization setup is on.
Workspace creation also provisions default Vault folders and a default collections policy. Those background tasks are independent. Eigenn can create a workspace even when one of those defaults needs to recover later.
3. Enroll an Authenticator
After workspace creation, Eigenn opens the MFA setup flow.
- Select Generate QR code.
- Scan the code with a TOTP authenticator such as 1Password, Authy, or Google Authenticator.
- If you cannot scan the code, enter the displayed manual setup key in the authenticator.
- Enter the six-digit code.
- Select Verify & enable.
The current enrollment flow adds an authenticator-app factor. It does not add a passkey or hardware security key. You can manage enrolled factors later under Settings → Account → Security.
4. Select a Plan
The onboarding plan page displays the paid plans available for hosted checkout. Choose a plan to continue to Stripe Checkout.
After payment, Eigenn polls for subscription activation. If activation does not synchronize before the poll window ends, select Retry status check. Do not submit checkout again while a successful payment continues to sync.
Eigenn automatically redirects an already active subscriber out of plan setup.
5. Connect Stripe and a Bank
When one of the two necessary connections is not present, Eigenn opens a non-dismissible setup flow on protected product pages.
The steps are:
- Read the welcome step.
- Connect Stripe.
- Connect a bank provider.
- Choose the bank accounts to add.
- Wait for bank synchronization.
- Examine the connection summary.
- Select Finish setup.
The flow skips a connection step when that connection already exists. It closes only after the active workspace has both Stripe and at least one bank connection.
When you select Finish setup, Eigenn records onboarding completion. Eigenn bases the connection check on live connection records, not only on that completion flag.
6. Confirm the First Operations Record
Before you act on the data:
- Open Transactions. Confirm that the expected bank account and recent activity appear.
- Open Invoices. Confirm that Stripe-backed customer and invoice records are present when applicable.
- Open Settings → Usage. Confirm that the bank, invoice, Inbox, seat, and storage counts look plausible.
- Open Settings → Account → Currency. Confirm the workspace base currency.
- Examine Settings → Notifications. Make sure that each operator gets only the team alerts that they need.
Initial sync can continue after you establish a connection. A connected badge proves that authorization exists. It does not prove that the import of every historical record is complete.
7. Complete Workspace Activation
Open Assistant → Workspace activation. This checklist uses live workspace conditions, so it helps you find setup that is still incomplete after the connection flow closes.
- Review the incomplete activation steps.
- Complete a linked task in the product, or start a suggested Assistant prompt.
- Return to Workspace activation.
- Confirm that the step now shows complete.
- Open What I know about your business and save the stable business context that Assistant should keep in mind.
Use the business profile for industry, fiscal year, base currency, goals, focus areas, and durable notes. Keep temporary scenario assumptions in the related forecast or planning model.
8. Create the First Planning Model
Use Scenario planning when the team needs a custom operating model beyond the standard Forecast workbench.
- Open Scenario planning → Models.
- Select New model.
- Choose a focused template such as 13-Week Cash Flow, P&L and Runway, Headcount plan, or Receivables & DSO.
- Confirm the time range and actuals boundary.
- Import or link the required planning actuals.
- Add one alternative scenario.
- Save a review view and share the lowest access that the reviewer needs.
Start with one decision. Do not recreate every company spreadsheet during onboarding. Continue with Build a Driver-Based Planning Model when you need to define variables and formulas, or Configure Planning Time and Actuals when the model calendar and actuals boundary need more care.
9. Establish Workspace Controls
Before automation or customer data expands, configure the shared controls that the team needs.
- Open Settings → Approvals to require ordered sign-off for sensitive actions.
- Open Settings → Customer fields to define business-specific fields that should appear on every customer.
- Open Settings → Members and confirm that owners, members, and viewers have the intended roles.
- Open Settings → Security and confirm the workspace MFA policy.
Test an approval policy with a low-risk representative action. Add only a small customer-field set with a clear owner for each value.
Behavior specification
Troubleshoot
Sign-in returns to the login page
Retry the same authentication method that you used before. If SSO reports that no team exists for the domain, an organization owner must create or set up the organization before domain-based sign-in can succeed.
Workspace creation says that the name is not available
Choose a distinct organization name. Then submit again. The company name can stay recognizable while you make the identity-organization name unique.
Eigenn rejects the MFA code
Confirm that the device clock is correct. Enter the current six-digit code. Then try again. Use Regenerate only when you are ready to replace the unverified setup with a new QR code and secret.
Payment succeeded but the access sync continues
Keep the onboarding page open. Use Retry status check after the timeout message appears. Do not start a second checkout for the same plan.
The connection flow will not close
The active workspace must have a record of Stripe and of at least one bank account. Complete the step that is not done. Wait for the bank sync state. Then return to the summary.
Counts or balances are unexpectedly empty
Confirm that you are in the intended workspace and that the initial sync is complete. If the connection is healthy but the record remains incomplete, send a request through Settings → Account → Support. Include the affected connection and the page URL.
Diagrams
Rendering diagram…
Screenshots
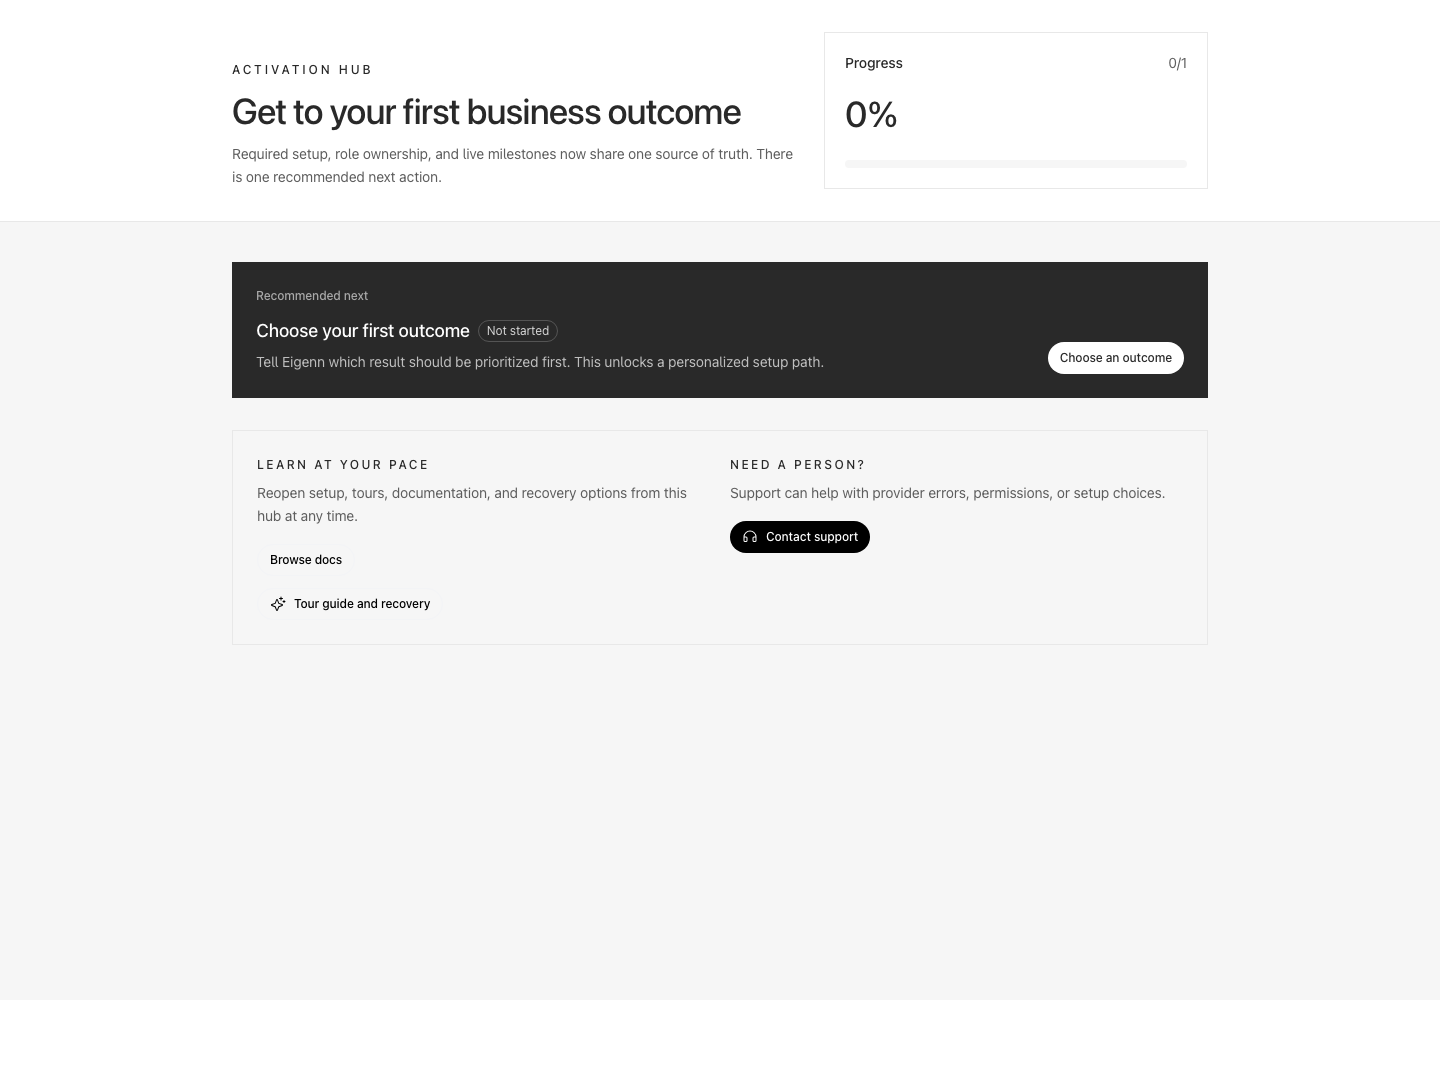
Activation hub recommending the first business outcome and linking to documentation and support.
Shown with synthetic data in a local workspace.
Verification
- Open Eigenn and confirm the sign-in page presents Google and other options, and allows authentication with your organization’s selected identity method.
- After signing in, check that workspace creation requires a unique company name of at least two characters, country, and base currency. Submission should succeed unless restricted by organization-name rules.
- Following workspace creation, ensure that a QR code for MFA can be generated and set up by a standard TOTP app. Verification should succeed with a current code.
- Upon reaching the plan selection page, select a plan and verify that Stripe Checkout is launched for payment. Successful payment should activate the subscription without requiring checkout to be submitted again.
- After payment, try to access protected areas and ensure the system initiates a flow requiring connections to Stripe and a bank. Test connection and ensure the summary and finish setup options appear only when both are connected and synced.
- Inspect Transactions, Invoices, Usage, and Currency in Settings to ensure that the correct data from the connected bank and Stripe accounts has synchronized and is visible.
- Use the Assistant workspace activation checklist and confirm it updates when tasks are completed within the product.
- Create a simple planning model and confirm it is listed in the Models view, with actuals imported or linked, and share options available. Confirm additional planning model links are operational.
- In Settings, test Approvals, Customer fields, Members, and Security configuration—ensure changes are saved and policies are enforced according to roles and MFA settings.
Related
Continue Setup
- Set Up a Workspace
- Onboarding and Support
- Security and Access
- Account Preferences
- Marketplace Integrations
- Manage Team Access
- Assistant Workspace and Saved Work
- Create Your First Planning Model
- Build a Driver-Based Planning Model
- Connect Planning Data and Actuals
- Configure Planning Time and Actuals
- Configure Approval Policies
- Configure Customer Fields