Set Up a Workspace
Create, secure, connect, and check a workspace before you invite the team.
Summary
Set up one workspace completely before you scale membership or automation. This sequence establishes identity, reporting currency, MFA, subscription, data connections, and owner-controlled defaults in an order that you can check.
Capabilities
Once the workspace set-up process is complete, you have a secure environment to: create and manage workspace members, enforce multi-factor authentication, connect Stripe and banking providers, select and activate a plan, control regional preferences, review billing and notifications, and set access policy for your team.
Prerequisites
Before You Start
Prepare:
- company and optional identity-organization name
- legal country of operation
- reporting base currency
- access to a TOTP authenticator
- authority to connect Stripe
- authority to connect the business bank provider
- a workspace owner who will remain available
- a list of the first members and their intended roles
If you plan to use a custom email domain, also find the DNS administrator and a subdomain such as invoices.example.com.
Concepts
A workspace represents your company's secure environment within Eigenn where membership, authentication, connections to external financial accounts, access policy, and financial operations are managed centrally. MFA and owner recovery help ensure continuity and security. Distinct roles, regional settings, and enforced logging shape workspace control. Only the workspace owner may control the most sensitive actions and defaults.
Workflow
1. Authenticate
Open Sign up and continue with Google, or select Show other options for Apple, GitHub, or email. A company SSO user uses the identity method that their organization set up.
Email starts the hosted identity flow with the entered address. It is not a local Eigenn password form.
2. Create the Workspace
Complete Create your Eigenn workspace:
- Enter Company name.
- Enter Organization name when the identity organization needs a different display name.
- Select the company country.
- Select the reporting base currency.
- Submit the form one time only.
- Wait for the navigation.
Workspace creation also tries to prepare default Vault folders, a default collections policy, and the identity organization when a provider configuration is available. These background defaults are independent. Check them later. Do not assume that every task completed with the form.
3. Enroll MFA
- Select Generate QR code.
- Scan it with a TOTP app.
- Enter the six-digit code.
- Select Verify & enable.
If you cannot scan, use the manual key. Store the authenticator securely. The current flow does not issue downloadable recovery codes.
The Cancel action in the enrollment view can continue to plan setup without MFA. Do not use that as the standard owner setup. Confirm at least one factor before you add financial connections.
4. Select the Plan
Choose Starter, Growth, Scale, or Enterprise on the monthly plan screen. Then complete hosted checkout.
When checkout returns:
- wait while Eigenn confirms activation
- select Retry status check if synchronization times out
- do not create a second checkout while the provider shows a successful payment
The first-run plan screen has no free option. Starter is the entry plan.
5. Complete the Necessary Connections
The protected app opens the connection flow until the workspace has Stripe and at least one bank connection.
- Connect Stripe.
- Connect the bank provider.
- Choose the bank accounts to add.
- Wait for the bank sync step.
- Examine the Stripe and bank summary.
- Select Finish setup.
If either connection already exists, the flow starts with the missing step. You cannot dismiss the flow while a necessary connection is absent.
6. Confirm Workspace Identity
Open Settings → General as the owner.
- Upload the company logo when you want one.
- Confirm company name, email, and country.
- Examine the transaction export defaults.
- Leave Delete team untouched.
Company email is a workspace contact value. It does not change an individual's sign-in email.
7. Confirm Currency and Regional Preferences
Open Settings → Account → Currency and check the base currency. If it must change:
- Select the new currency.
- Select Update in the confirmation toast.
- Wait for the balance-conversion job to complete.
- Compare representative balances.
Then open Settings → Account → Date & Locale for your personal timezone, date, time, and week-start preferences.
These are not all workspace values. The locale and the format are personal. The workspace shares the base currency, and only an owner can change it.
8. Establish Access Policy
Before you send invitations:
- Open Settings → Security.
- Decide whether future members must use MFA.
- Turn on Require MFA for New Members when necessary.
- Select Save.
- Invite a test member after activation.
- Confirm that the member must enroll or confirm MFA.
The rule is prospective. Eigenn does not force MFA on members who joined before activation.
The same page has an Audit & Logging card. Confirm that Enable Audit Log is on and choose an Audit Log Retention period of 7, 30, 90, or 120 days. New workspaces start with audit logging on and 90-day retention. Eigenn enforces both.
9. Add Members Carefully
Use Settings → Members or Settings → Account → Teams for the membership task.
- Keep at least two owners when the organization needs continuity.
- Use Viewer for read-only access.
- A Member can do many team writes.
- The current billing service also lets a Member start checkout, open the billing portal, and schedule cancellation.
See Manage Team Access for the complete role workflow.
10. Set Up Alerts and Billing Review
We recommend that each operator opens Settings → Notifications in the workspace and examines their own channels. Preferences do not apply to teammates automatically.
Then the owner examines Settings → Billing:
- current plan
- cancellation badge
- hosted billing portal
- order history
- refund requests
11. Confirm the Operations Record
Before you turn on automation:
- Compare connected bank accounts with the provider.
- Compare recent transaction dates, signs, and balances.
- Compare Stripe customers and invoices.
- Examine the connection sync status.
- Open Settings → Usage and check whether its values look credible.
- If Usage shows zero with No limit everywhere, treat it as the known load fallback rather than real consumption.
- Run the first finance review with a small, explainable period.
Eigenn authorizes a connection before all historical data completes the sync.
Behavior specification
Each step in the workspace setup must be completed before the next is allowed: authentication, workspace details, MFA (for owners and as policy for others), plan selection, connections, and owner configuration. Connections are enforced before dismissal. Logging and audit are active by default. Owners must explicitly change settings for currency, MFA policy, and member invitations. Notification preferences are per-person, and role assignment must be clear.
Diagrams
Rendering diagram…
Screenshots
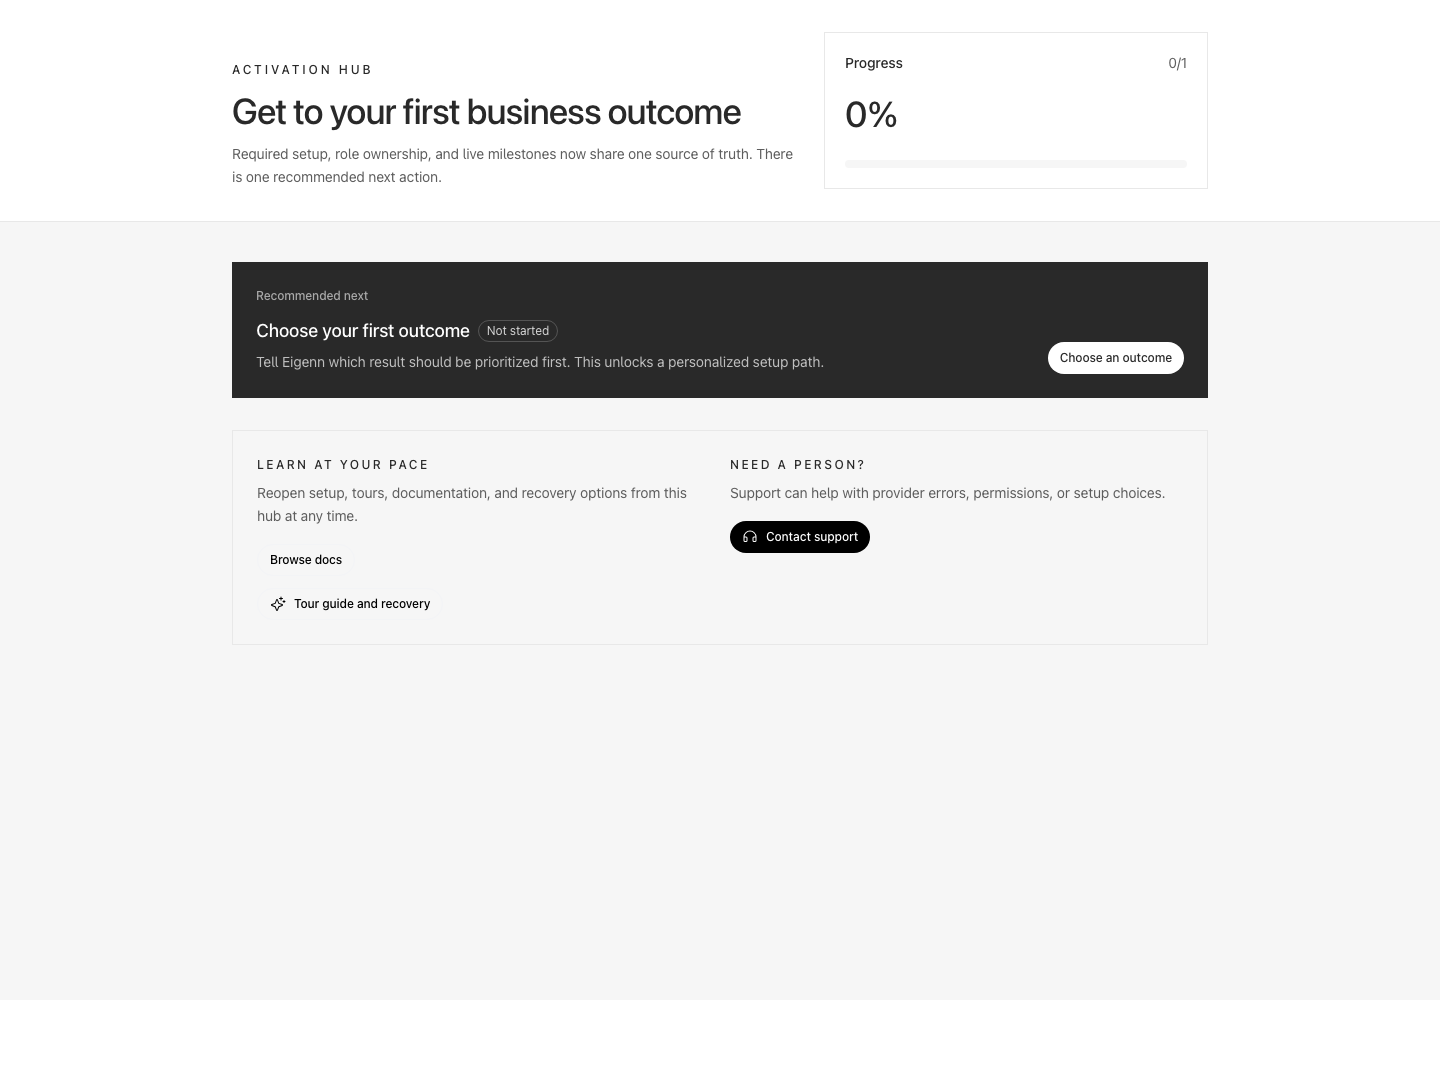
Activation hub recommending the first business outcome and linking to documentation and support.
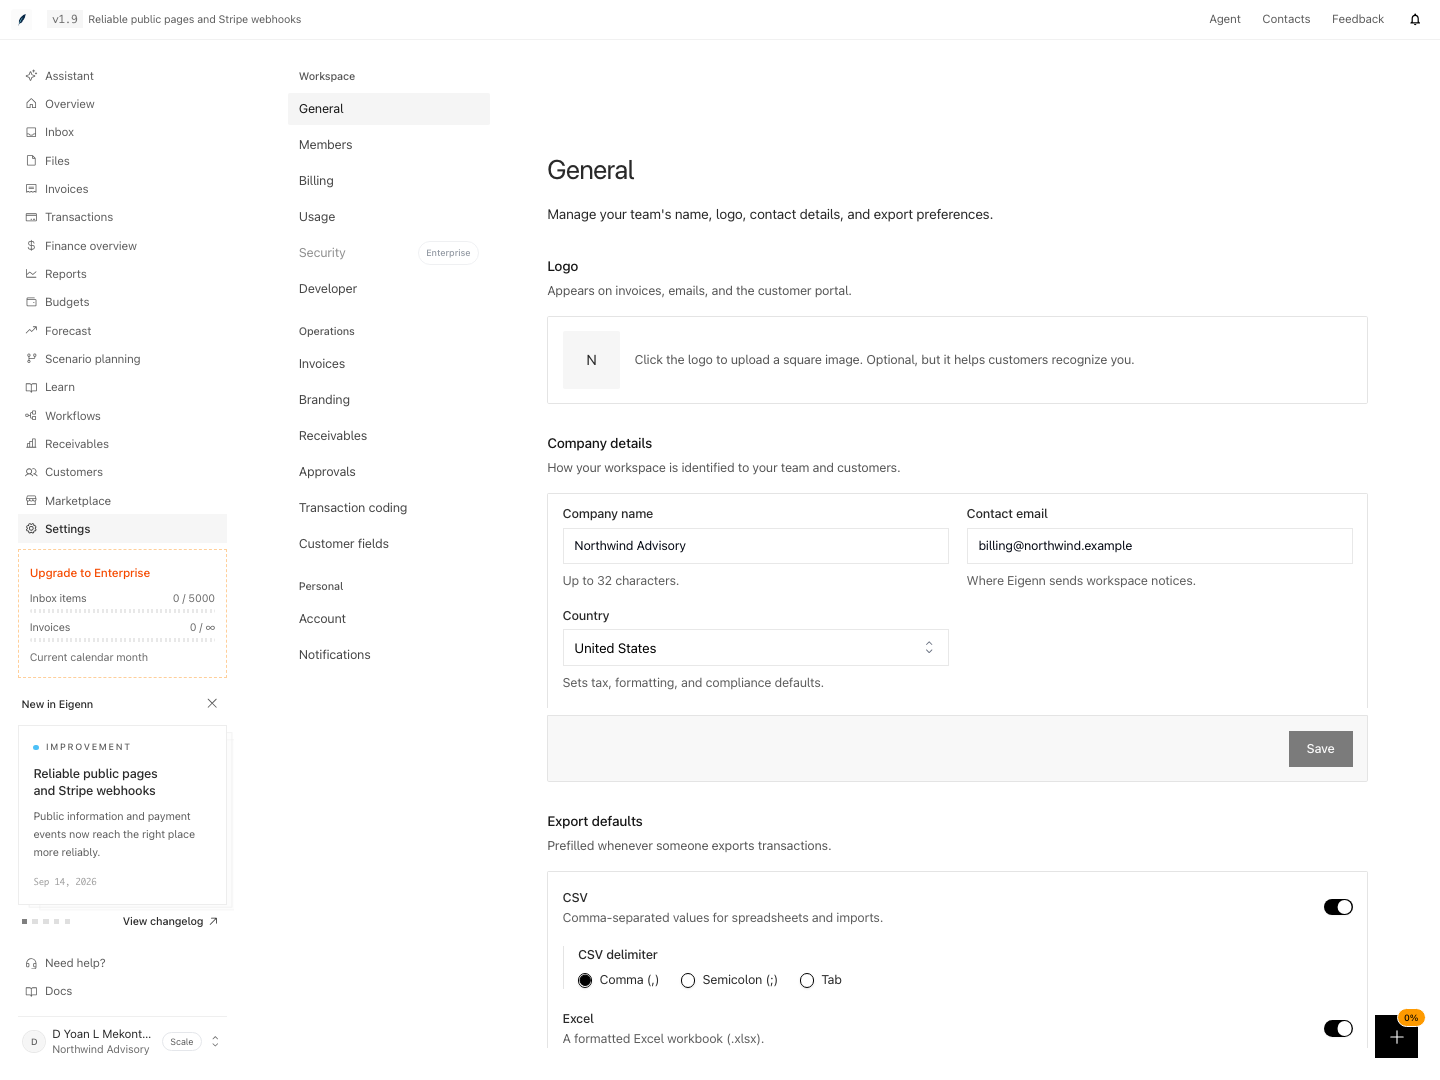
Workspace settings for company details, contact email, and export defaults.
Shown with synthetic data in a local workspace.
Verification
Confirm the Result
- Workspace name, country, and base currency are correct.
- At least two owner recovery paths exist where necessary.
- The initial owner has a confirmed authenticator.
- Plan state matches hosted billing.
- The workspace has Stripe and at least one connected bank account.
- You compared the initial sync with the source records.
- You decided the future-member MFA policy before invitations.
- Every invited operator understands their role.
- Each operator examined the personal notification preferences.
- You do not represent the saved-only Security and Branding values as enforced.
Troubleshoot
The form created the workspace but navigation failed
Reload and check the workspace switcher. The post-create redirect can fail after the database creation succeeds.
You skipped the MFA setup
Open Settings → Account → Security. Select Add device. Complete the authenticator enrollment before you continue.
The plan is still inactive after payment
Return to onboarding and use Retry status check. Compare the provider state before you start checkout again.
The connection modal returns again and again
Confirm both connection facts in the same active workspace. The workspace has a Stripe connection, and it has at least one bank connection.
Base currency saved without conversion
Select the currency again and use Update in the toast. The save of the value and the conversion job are separate actions.
- Confirm the workspace name, country, and base currency match intent.
- Ensure there are at least two owner recovery paths set.
- Verify the initial owner has completed MFA.
- Check that the plan state matches the billing provider after payment.
- Confirm Stripe and at least one bank account are connected and synced.
- Compare the initial data sync with source bank and Stripe records for accuracy.
- Validate that MFA requirements for new members are enforced if set.
- Ensure all invited team members are aware of and have the correct access role.
- Each member should check and understand personal notification options. 10. Do not rely on saved-only Security and Branding values as currently enforced.