Build Your First Workflow
Create a safe manual workflow, connect and validate its blocks, deploy it, run it one time, and confirm the execution.
Summary
This guide builds a minimal workflow that has no side effect. After that path completes, extend it with finance actions. Use the same validation and verification loop.
Capabilities
Useful Editor Shortcuts
- Command+Z or Control+Z: undo
- Command+Shift+Z or Control+Shift+Z: redo
- Command+Shift+D or Control+Shift+D: duplicate one selected block
- Delete or Backspace: delete the selection
- Shift+L: auto-layout
- Command+Shift+F or Control+Shift+F: fit to view
- Command+Enter or Control+Enter: run or stop
Prerequisites
Before You Start
- Use a Starter or higher workspace.
- Sign in as a workspace owner.
- Confirm that workflow creation is within the current entitlement of the workspace. The plan configuration permits 3 workflows on Starter, 25 on Growth, and unlimited workflows on Scale and Enterprise.
- Use a test workspace or a non-production record before you add email, SMS, late-fee, escalation, or integration actions.
Concepts
A workflow in Eigenn connects triggers, actions, and endings as visual blocks on a canvas. Every workflow requires a valid starting trigger, well-connected steps, and a defined end. Blocks can represent system actions, notifications, decisions, or pauses for human review. Validation and deployment checks ensure logical and operational correctness before the workflow becomes active.
Workflow
1. Create the Definition
- Select Workflows in the primary sidebar.
- Select Create Workflow.
- Enter a clear Name, such as
Manual workflow smoke test. - Select the namespace that owns the operation:
- Payment Follow-up,
- Promise to Pay, or
- Settlement.
- Enter an optional Description that gives the owner and the expected outcome.
- Select Create workflow.
The workflow opens as an inactive version-1 draft with one Trigger block. The normal update flow cannot change the namespace later.
2. Configure a Safe Trigger
- Select the Trigger block on the canvas.
- Open Editor in the right panel.
- Set Trigger to Manual.
- Leave Policy and Trigger Filters empty for this first test.
New workflows set the trigger to Invoice Overdue by default. You must change this field before you use the definition as a manual smoke test.
3. Add an End Block
- Open Library.
- Search for End under Blocks, or locate it there.
- Select End to put it near the current view, or drag it to a position on the canvas.
- Connect the Trigger source handle to the End target handle.
- Select End and confirm that its terminal outcome is correct for a successful test.
The minimal path is now:
Trigger → End
This tests persistence, validation, activation, the queue, execution state, and replay. It does not send a message or change a financial record.
4. Save and Examine the Draft
The editor autosaves 1.5 seconds after a change. Wait for Saved in the header, or use Command+S on macOS or Control+S on Windows and Linux.
If the header shows Save failed, keep the page open and restore connectivity before you continue. A run or a deployment also requests an immediate save. Do not use that request in place of a fix for a visible save error.
5. Validate and Deploy
- Select Deploy.
- Expand Validation.
- Confirm that no check failed.
- Select Deploy in the sheet.
- Confirm that the editor badge changes from Draft to Published.
Eigenn can block deployment for a missing trigger, an orphaned block, a cycle, an invalid edge, an unmapped decision branch, or an invalid block configuration. A warning alone does not block deployment. Read the warning before you continue.
Activation is the current deployment operation. It makes the saved definition active. It does not create a separate artifact for each environment.
6. Run One Time
- Select Run one time.
- Confirm that the console opens.
- Watch the canvas overlay and the console events.
- Do not select Run again when Eigenn queues the first request.
The editor sends a manual trigger with empty trigger data and no idempotency key. Each selection can create a separate execution.
When the editor tracks an active run, Run becomes Stop. Select Stop only when you want to cancel that run.
7. Confirm the Execution
- Open Workflows → Executions.
- Select Refresh if the run is not visible yet.
- Find the execution by workflow, trigger, and start time.
- Open Execution Details.
- Confirm that the state reaches Completed.
- Review Execution Graph and Execution Replay.
- Confirm that the Trigger and End steps are present.
- Confirm that no failure card appears.
If Eigenn turns off live updates, reload the page and use the persisted steps.
8. Extend the Workflow Carefully
After the minimal run succeeds:
- Examine Executions for any run still Waiting or Running.
- Deactivate the workflow from its actions menu before a major structural edit.
- Add one block at a time from Library.
- Select each block in Editor.
- Complete the necessary settings for the block.
- Reconnect the path.
- Delete the orphaned blocks.
- Wait for Saved.
- Open Deploy.
- Examine the validation.
- Deploy the workflow again.
- Run the workflow with a test record.
- Confirm the side effect in the system that owns the record.
Useful visible blocks include Send Email, Send SMS, Notify Team, Apply Late Fee, Escalate, Decision, Router, Loop, Parallel, Subflow, Wait, and Pause.
Select Wait or Pause with care
- Use Wait for a time-based delay.
- Use Pause when a person must review and act.
Read Workflow Pauses before you use a human checkpoint. A resume writes the payload, marks the checkpoint resumed, and enqueues the continuation job.
Behavior specification
The workflow must start with a manual trigger, have an End block, and all blocks must be connected without cycles or orphans. Workflow changes are auto-saved, but should only proceed on a successful save. Deployment requires passing validation checks on connectivity and configuration. Running the workflow executes the defined path—manual trigger to end—with a status change in the executions log. Extending the workflow is only recommended after verifying a no-side-effect run, and all subsequent edits must be deployed and tested as well.
Diagrams
Rendering diagram…
Screenshots
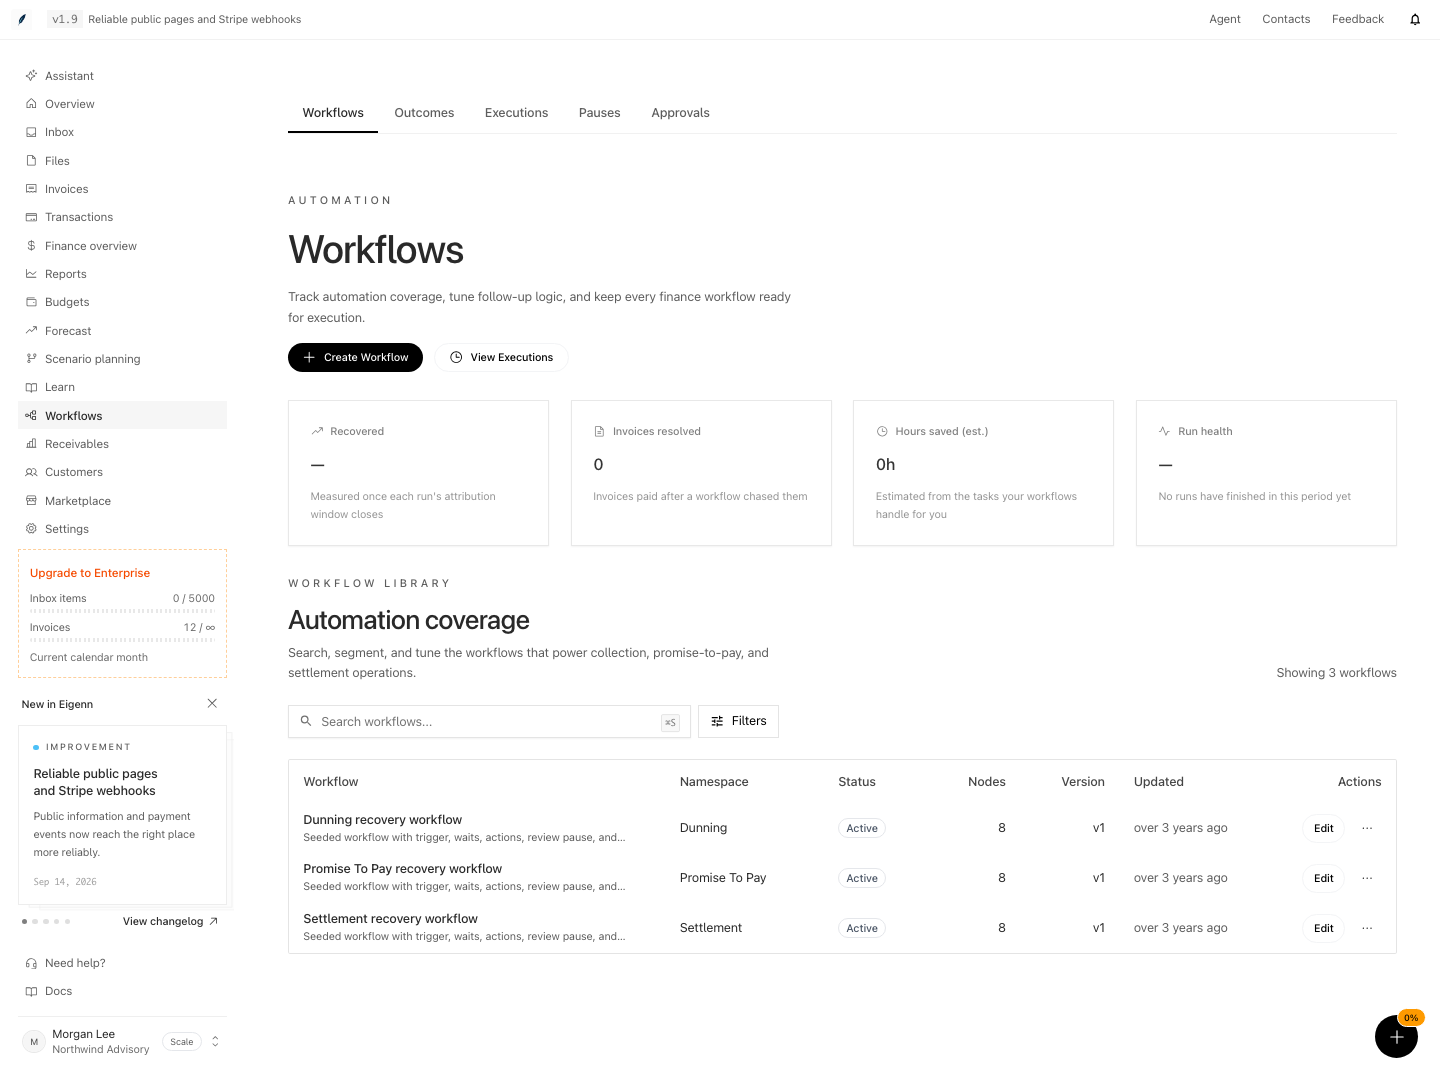
Shown with synthetic data in a local workspace.
Verification
Troubleshoot
Create workflow is unavailable
Confirm Starter or higher, the workspace-owner role, current billing write access, and the configured workflow entitlement of the workspace.
Deploy reports an orphan
Connect every block into the path. Eigenn treats a block that has no input edge or output edge as orphaned. A single Trigger by itself is also orphaned.
Run is not available
The definition is not active. Resolve the validation and deploy it first.
The workflow completed but no business action happened
The minimal Trigger-to-End test has no side effect by design. Add one action, configure it, deploy it again, and confirm it with a test record.
The version remains v1
Autosave and activation in the current generic Workflow Studio do not increase the version that Eigenn shows.
An AI proposal changed too much
The wand applies a successful proposal immediately. Copilot waits until you accept the proposal. Both apply as one document change that you can undo. Use Command+Z or Control+Z before more edits, then examine the full graph.
- Open Eigenn Workflows and confirm 'Create Workflow' is enabled: Only workspace owners with sufficient entitlement see this option.
- Save changes in the editor and wait for the 'Saved' indicator: The header must show confirmation without error.
- Attempt to deploy before adding an End block: Deployment should fail with a validation error.
- Deploy after validation passes: The workflow badge changes from 'Draft' to 'Published'.
- Run the workflow once: The console opens, and the run can be seen in Executions.
- Open workflow executions: The new execution is visible, with 'Trigger' and 'End' present and status 'Completed'.
- Edit the workflow to add a new block, then save, validate, deploy, and rerun with a test record: Repeat checks for each edit to ensure the workflow operates as intended.
Related
Next Steps
Build and Review a Forecast
Establish the cash baseline, add explicit assumptions, and interpret uncertainty without a mix-up of forecast and actuals.
Collaborate on a Planning Model
Use comments, scenarios, proposals, versions, and scoped sharing to review model changes without losing ownership or context.